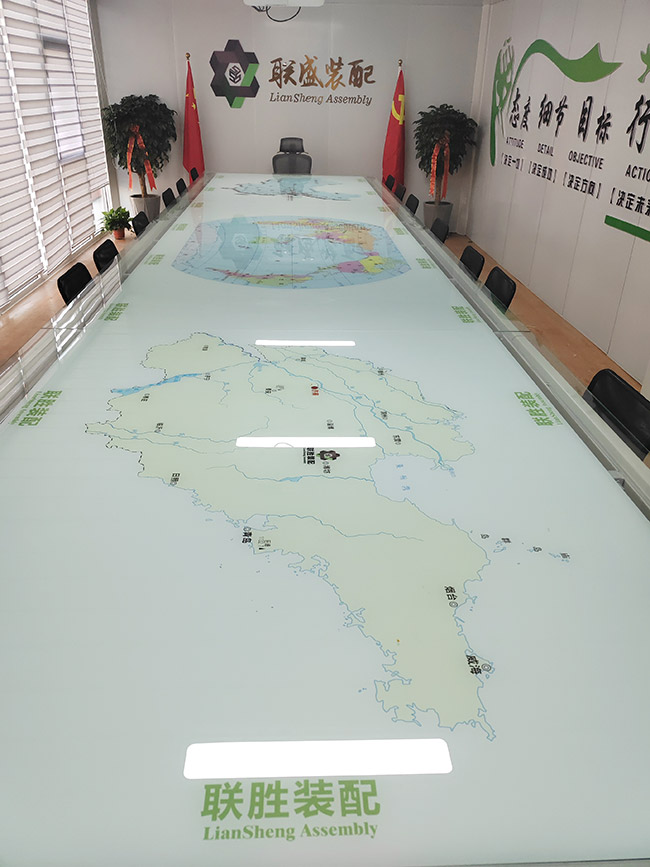
company
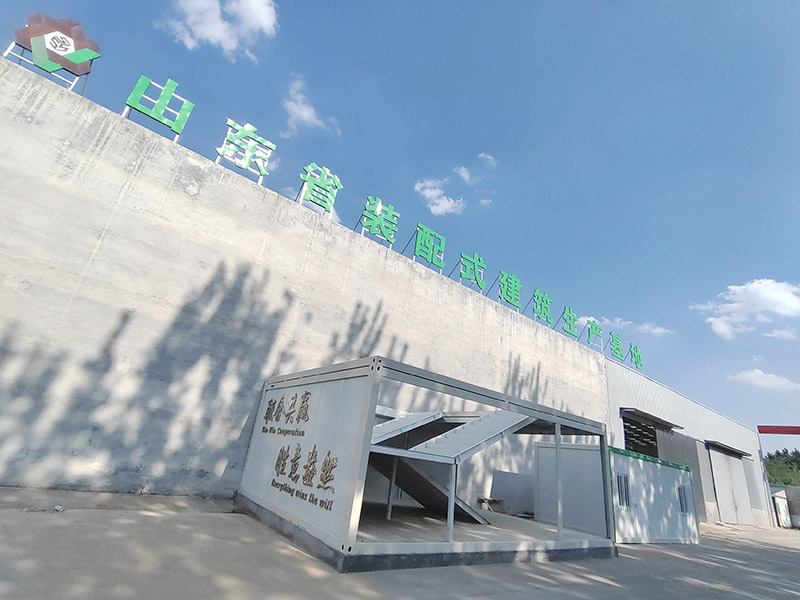
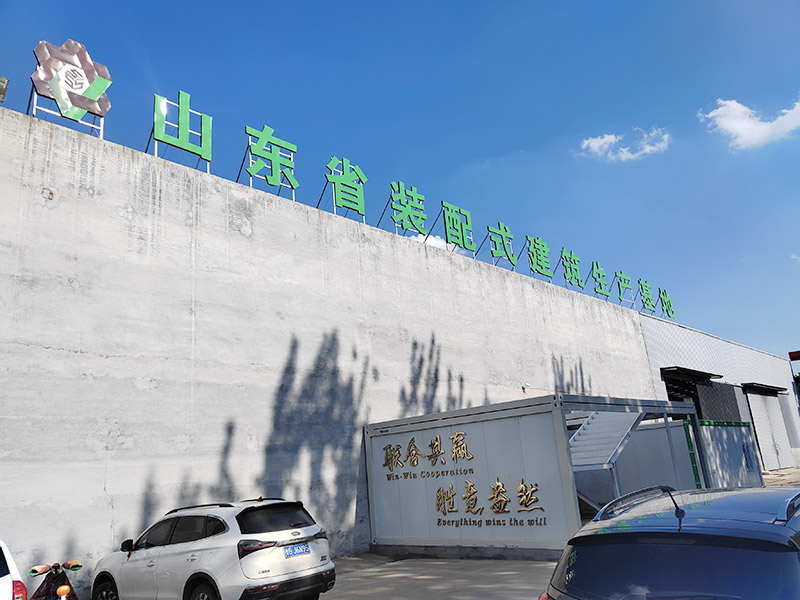
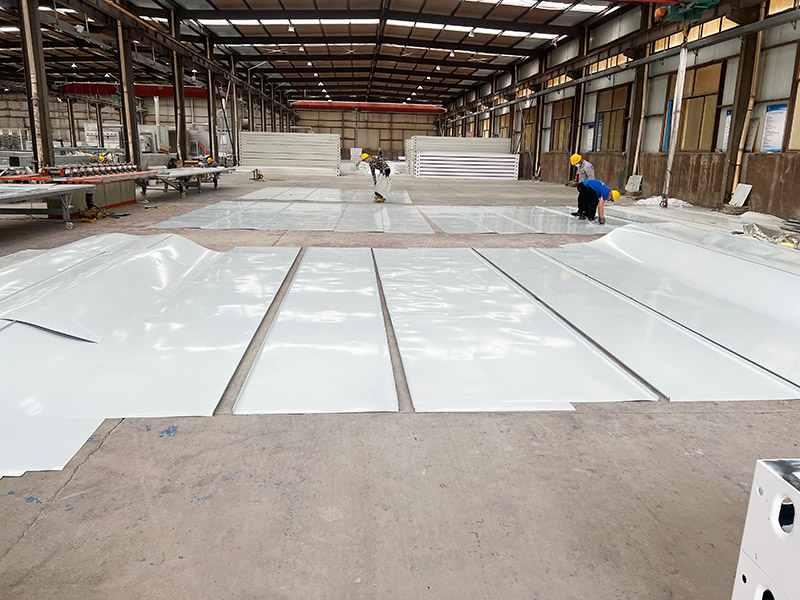
Prefabricated integrated house customized production base
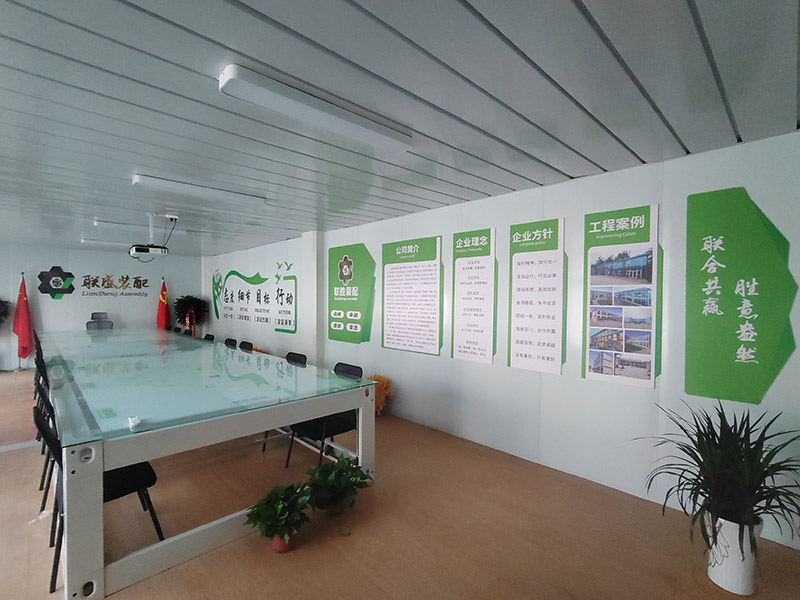
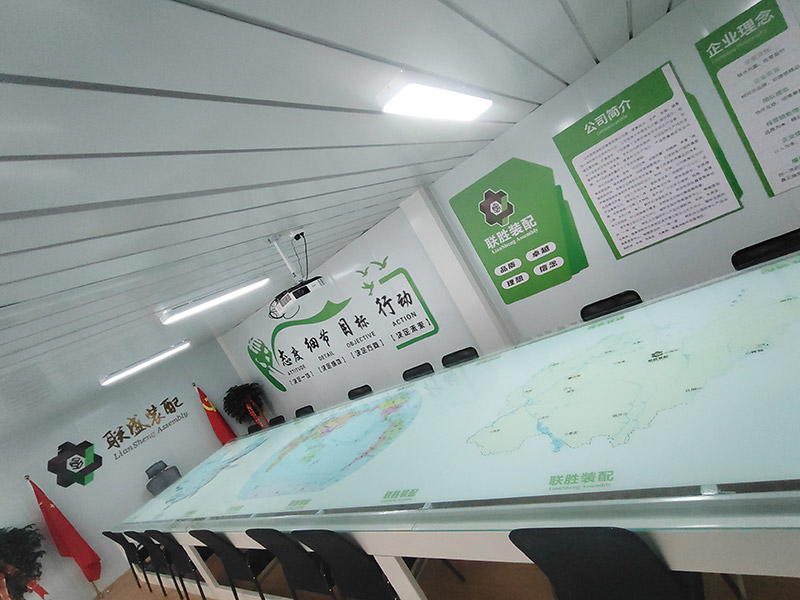
company culture
culture
-
Core conceptWin-win result, promising future
-
Enterprise purposeEstablish a credible brand and promote the high quality of building
-
Team conceptCooperation and devotion
-
Operation and sales conceptPeople first, technological innovation
Installation instruction manual
Installation Manual
We warmly welcome new and constant partners visit our company to guide and negotiate with us, and sincerely recruit plenty of agents of the same industry, which can operate in local plants with the assets of a small amount! We are looking forward to achieving a win-win result with all partners and winning a promising future!
01
02
03
04
05
06
07
08
09
10
11
12
13
14
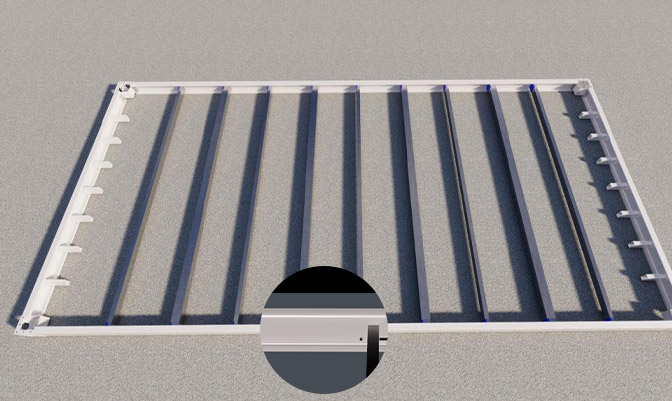
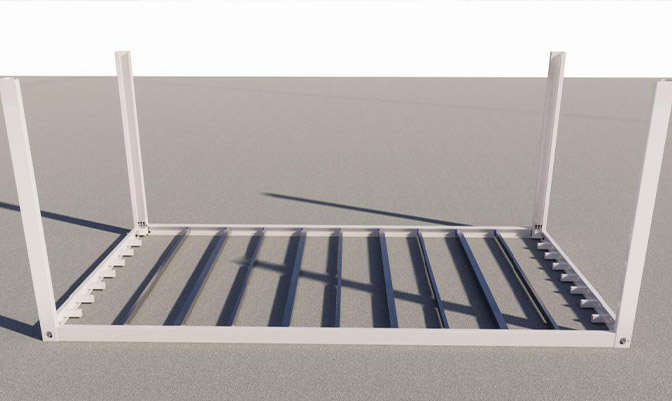
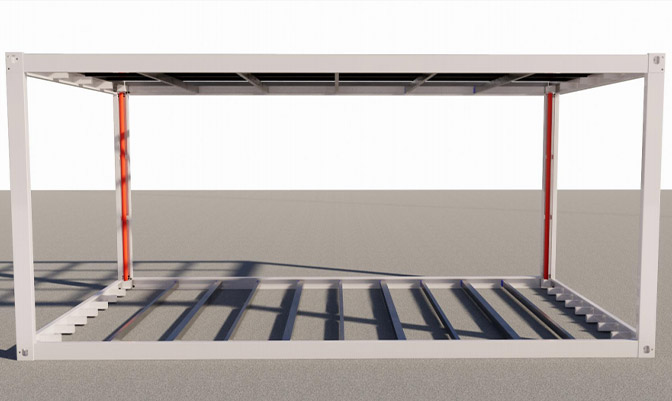
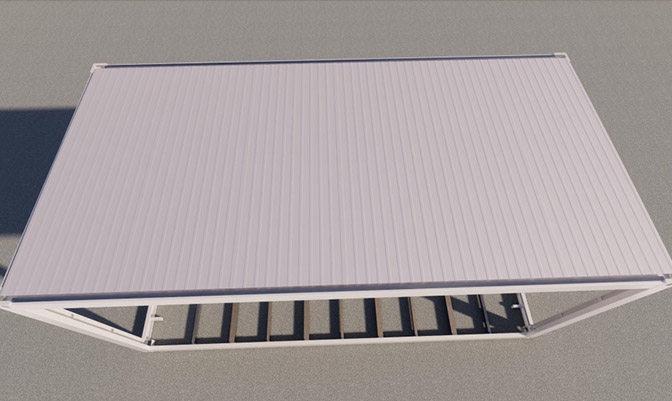
Installation step 01
Screws are used to connect the bottom cross beam and the cross beam at the bottom side, purlines (8*4) and 9 square tubes in the bottom framework.
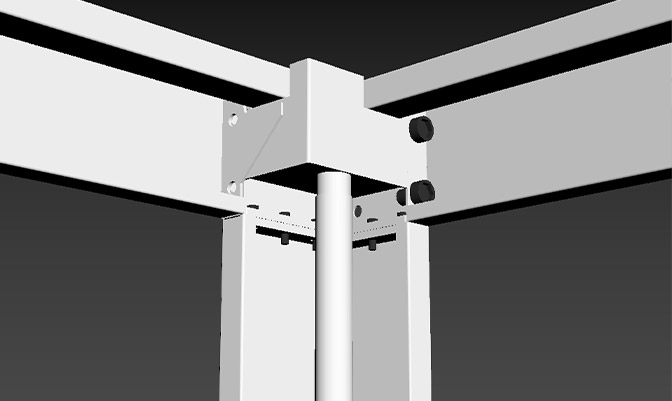
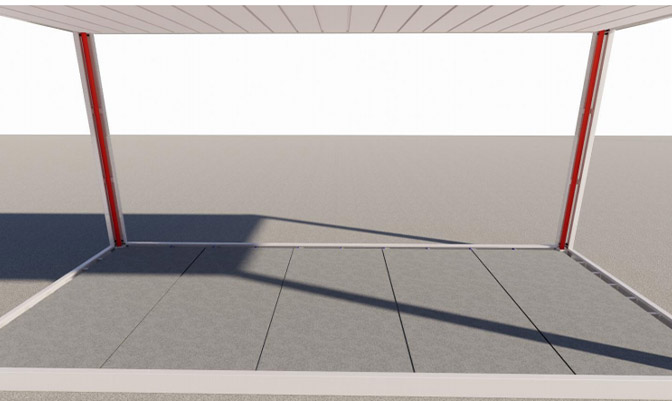
Installation step 02
6 sets of hexagon socket bolts are adopted to fix each upright column, and the bolts should not be screwed up.
Installation step 03
The plumb bod and leveling instrument are used to measure the verticality of the upright columns.
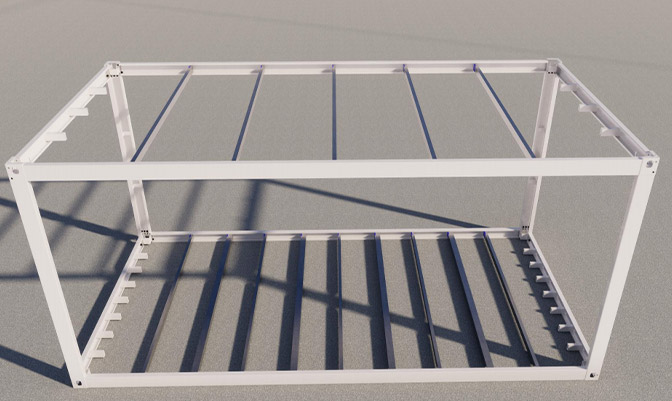
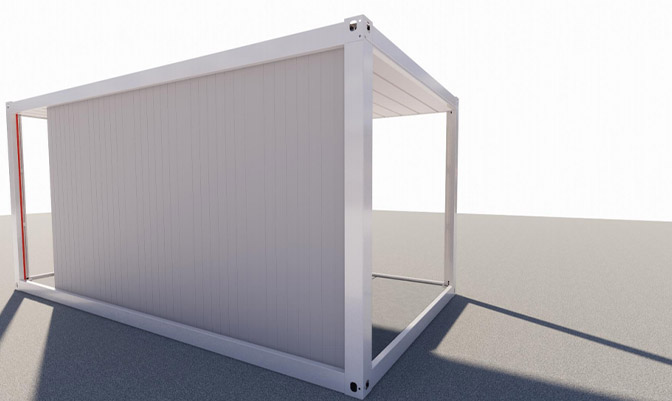
Installation step 04
Screws are used to connect the top cross beam and the cross beam at the top side in the top framework, leaving the drain hole outward.
>
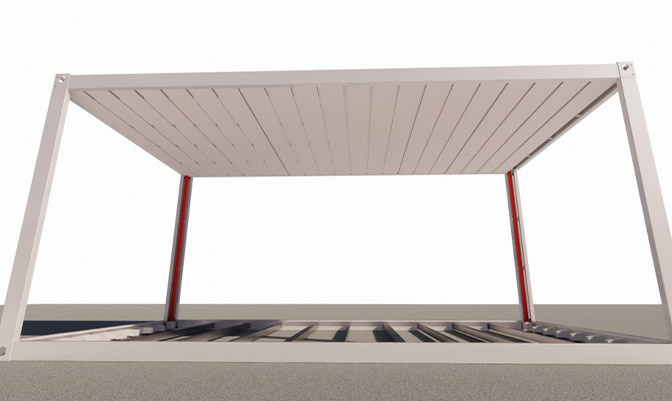
Installation step 05
5 top purlines are installed.
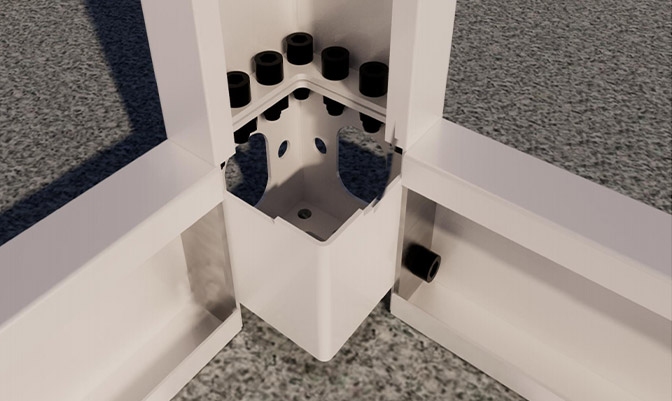
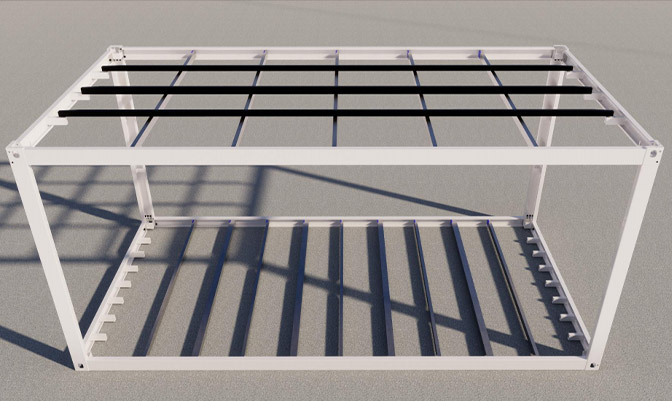
Installation step 06
3 horizontal square tubes are fixed in the position of the welded corner fitting of the top short beam.
Installation step 07
Downpipes are installed along four upright columns.
Installation step 08
8 pieces of 831 suspended ceiling tiles are installed.
Installation step 09
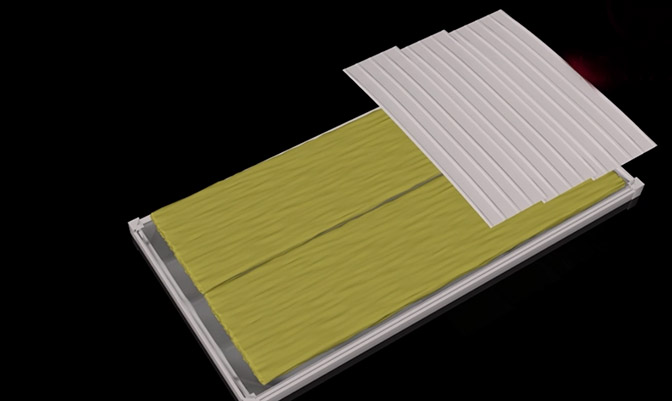
Rock wool rolls are paved in the top part.
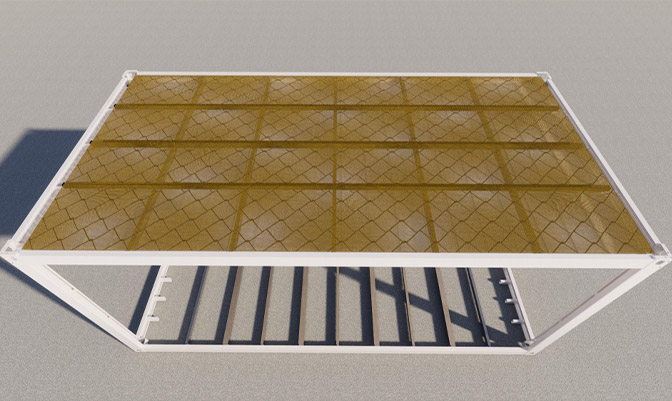
Installation step 10
Single tiles are installed on the roof.
Installation step 11
The edges of suspended ceiling tiles are hammered up with the rubber hammer. It is strictly prohibited to step on the single tile on the roof during the process of construction. Two square tubes should be prepared before stepping on tubes to facilitate construction.
Installation step12
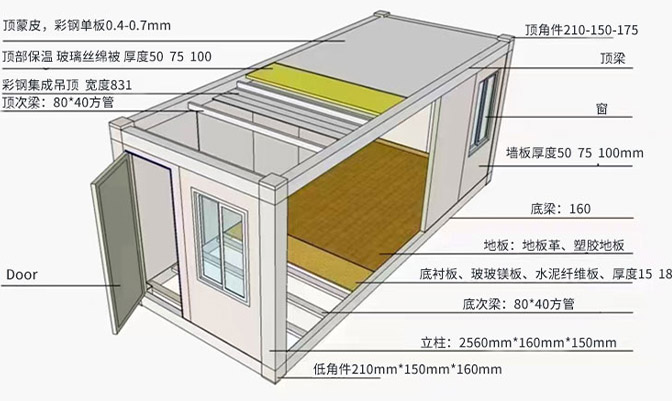
1.6 plastic floors are evenly paved to install the cement pressure pad.
Installation step13
Wallboards, doors and windows are
Installation step14
Installation whole process
<
>